Now that all the blocks have been sewn, cut and pressed open, it was time to start squaring up and trimming the blocks. I used the 5 inch Quilter Select Ruler, the same one I used in the blog post about Using the Tools, when the squares were originally subcut from the fabric strips.
3 reasons to use Quilters Select Ruler for squaring up
Reason 1- picking it up
The 5″ square Quilters Select ruler is just the right size; since the blocks are to be squared at 4 1/2” and it is easily picked up and moved about with just one hand. As I get older I find that my hands do not want to work any harder than they have to.
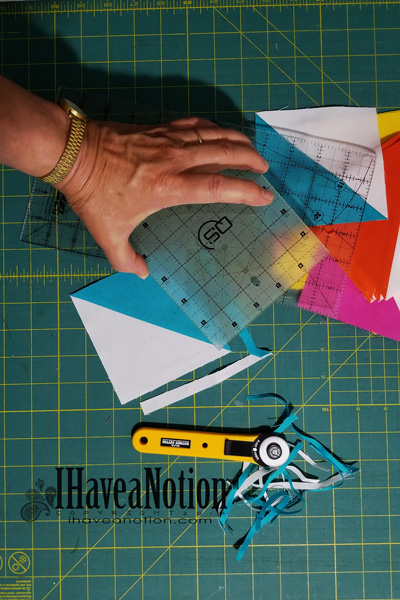
Reason 2- non-slip
The Quilters Select non-slip coating makes accurate cut easier. One of the things that often takes the joy out of creating is when my ruler slips. It makes me feel frustrated and inadequate, especially, when I have ruined a piece of fabric or a block because the ruler slipped. I have found that the coating on these rulers really helps them stay in place, especially when squaring up a block.
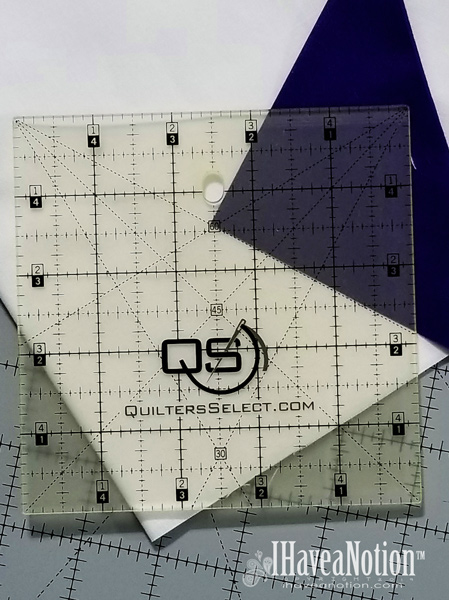
Reason 3- squaring up made simple
One of the most helpful aspects of the Quilters Select Rulers is the angle guidelines (30°, 45°, and 60°) and most of the rulers have 2 sets of the angle guidelines. You can see (in the photo below), the first set of angle lines, where the blue meets the white and the second set at the bottom of the block in the white.
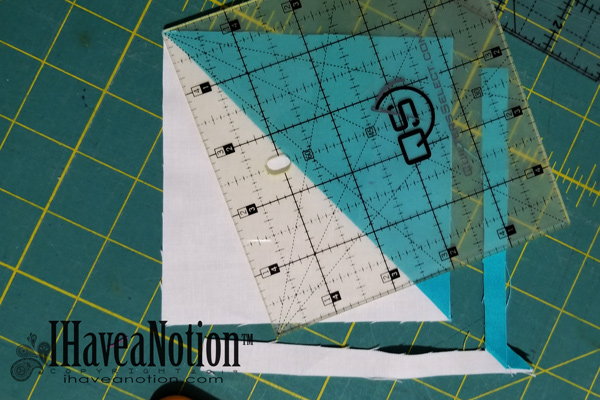
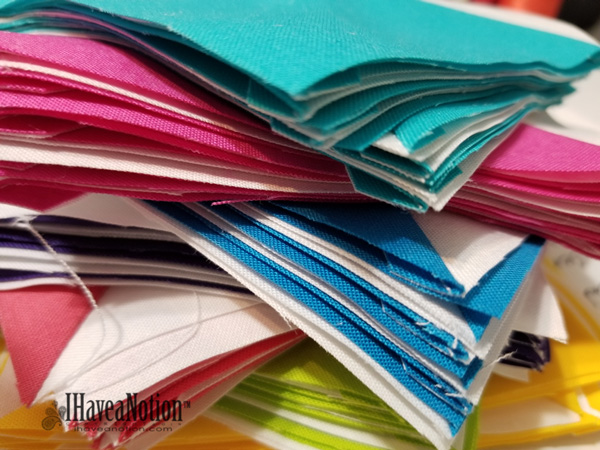
Once, all the blocks were pressed, next came squaring up the half-square triangle blocks. To square up, I lined the 45°line up on the diagonal seam line, very close to the top edge of the square, and trimmed the first two sides, (the right side and the top). I then took ruler off; turned the block and trimmed the other two sides, by again lining up the 45° line on the diagonal seam and the 4 1/2 inch dashed lines on the 2 previously trimmed sides. There were 8 colors, plus the white and a bit of black, and each combination had 32 squares for a total of 256 half triangle blocks!
A note about “The Trick”
I discovered while squaring up these blocks, that the ability to turn the ruler and the fabric together (the trick)only happens on the Quilters Select Mat. If using any other brand of mat that is not as smooth as the Quilters Select mat, (like the Olfa and Fiskars mats that seem to have a slightly rougher texture), “The Trick” doesn’t work. But I like the non-slip aspect of the ruler, more than the ability to turn the block or squaring up!!!
Designing the Quilt Top
After squaring up all the half-square triangle blocks, I took them to the design wall… Originally what little plan I had when I began this project, has almost come together. I chose the colors after going to QuiltCon 2019. I blogged here and here about the what I saw at Quiltcon. However, I was not happy with any of the experimental designs I played with on the design wall.
I played

and played a bit more
But I finally landed on a design. I discovered, on Facebook, a subtle hourglass quilt created by a friend, (Betty Elliott), and thought “That’s IT!” An hourglass quilt. Isn’t it beautiful?
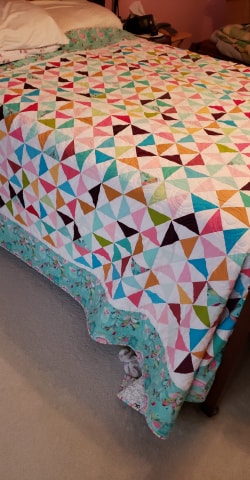
Next up the question of the borders. Do you plan everything before you start a project, or do you just start with a thought and grow from there? I think you can guess how I start… most of my projects… How do you start yours?
Beth